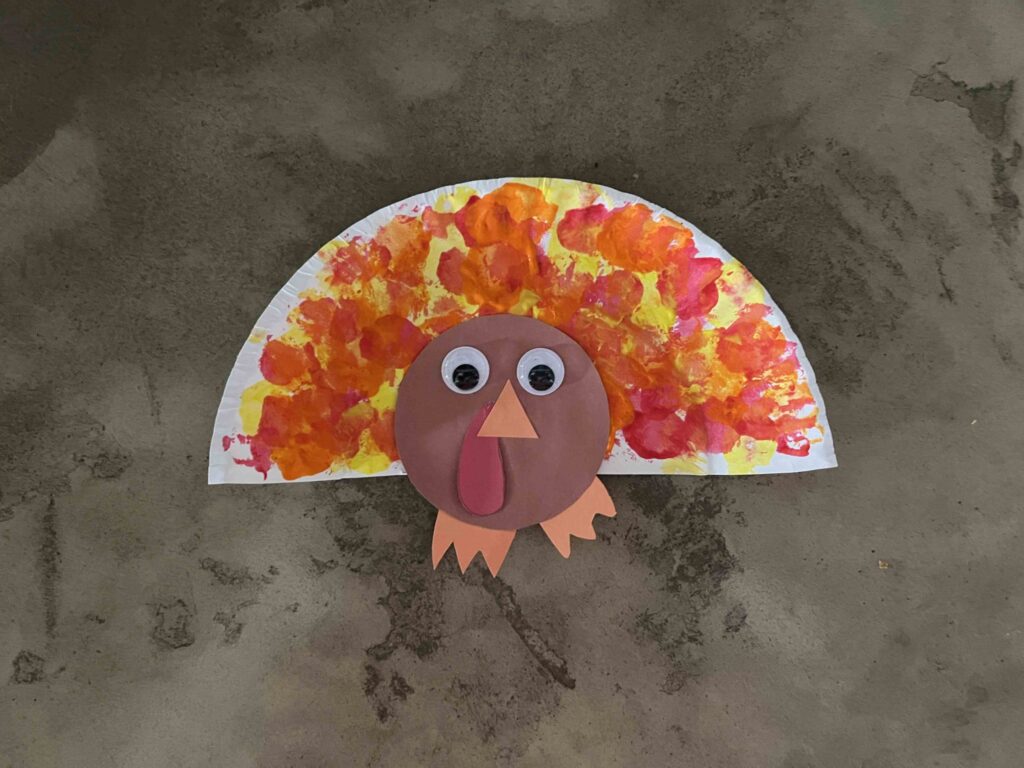
Is Thanksgiving dinner taking longer than you’d hope? Are the denizens of the kids table getting restless for grandma to set out the mashed potatoes? You need to create a diversion, quick! The TV won’t work — grandpa’s got the game on, so good luck prying the remote out of his paws.
Arts and crafts. Yes. Let’s do something seasonal. Something for kids of all ages. Something that isn’t yet another hand turkey.
This easy Thanksgiving craft for kids will have your little ones gobbling with joy.
Here’s what you’ll need:
- Paper plates
- Cotton balls
- Clothes pin
- Paint
- Brown, red and orange construction paper
- Scissors
- Glue
- Googly eyes


Here’s how to make our turkey crafts
Step one
Cut the paper plates in half. Each half will be the tail of a Thanksgiving turkey. So, depending on how many paper turkeys crafts you want to end up with, cut that many plate halves.
Step two
Heads up! We need to make the turkey’s head now. Cut a piece of construction paper in a circle — about the size of a baseball.
Step Three
Grab some orange paper and cut out a triangle for the beak. Use the same orange paper and cut out some turkey toes, too.
Then grab some red paper and cut out the turkey’s snood. That’s right. Snood — that’s the real name of the red dangly part that flops over turkey’s beaks.


Step Four
Grab the glue stick (or bottle) and put it all together.
Step Five
We’re going to paint. But first, let’s make some paint brushes. All you have to do is clip a cotton ball with a clothespin. Viola. Instant (disposable) paintbrush.
Step Six
Squirt some paint on an extra paper plate and let your little Bob Rosses show off their stuff. These turkeys will definitely look better if you make your paint dabs one color at a time and let the paint dry before going to the next one.


Step Seven
After everyone’s happy with their turkey’s tail feathers and all the paint has dried, glue it to the turkey. You look good enough to eat, Mr. Turkey!


