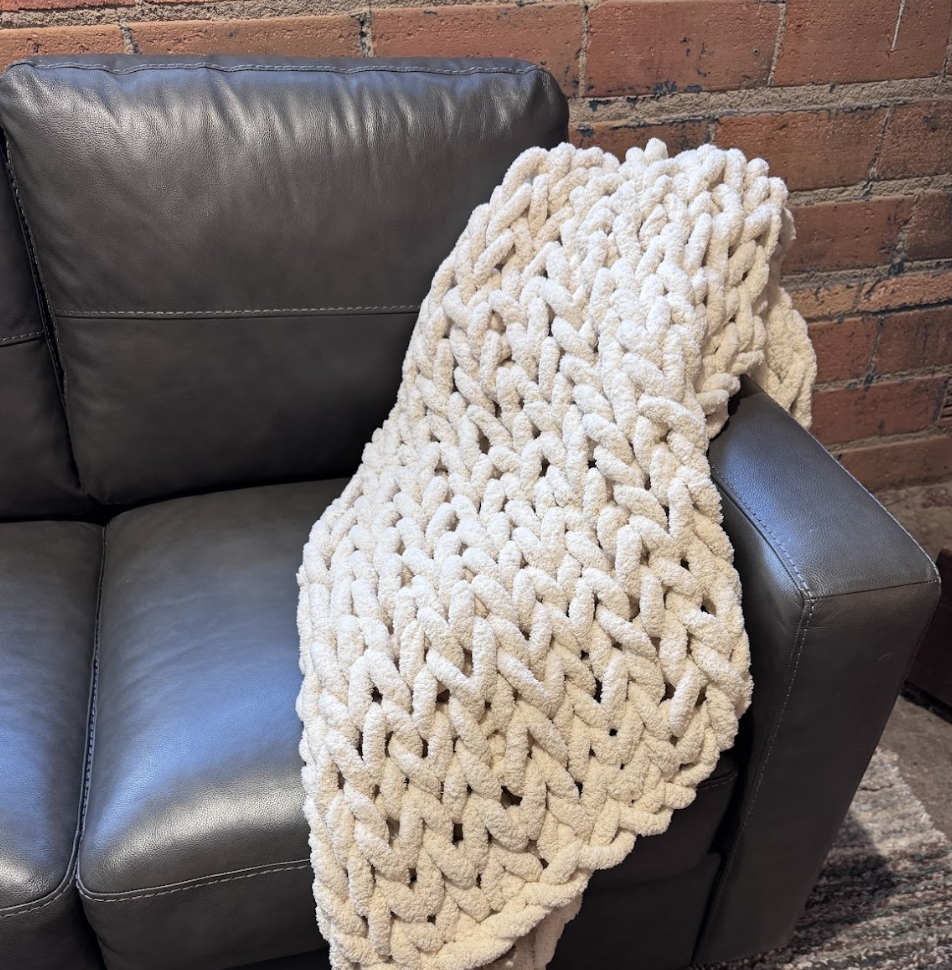
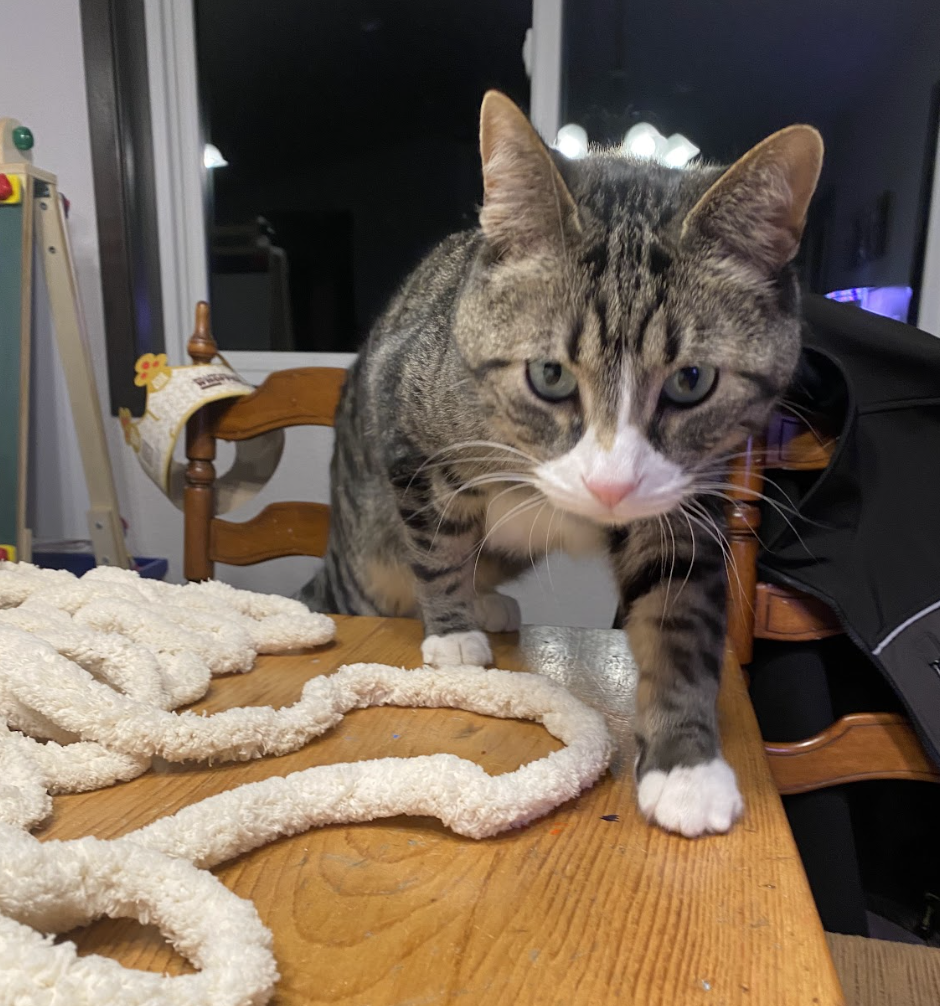
As every parent knows, idle hands and bored minds are a perfect recipe for trouble. Let’s give those hands and minds something to work on.
Magic Knot Instructions:
Throughout the knitting process, you’ll need to securely join your skeins of yarn together — that’s where the magic knot comes in.
- Take the two yarn ends you want to join and lay them parallel, with their ends facing opposite directions.
- With the lefthand yarn, cross it over the righthand yarn, then loop it under and behind the righthand yarn and back around itself.
- Pull the end of the lefthand yarn through the loop you just made to form a simple knot.
- Tighten the knot securely around the righthand yarn.
- Repeat the process with the righthand yarn: cross it over the lefthand yarn, loop it under and behind the lefthand yarn, then back around itself.
- Pull the end of the righthand yarn through the loop to form another simple knot.
- Tighten this second knot securely around the lefthand yarn.
- Gently pull both yarns in opposite directions so the two knots slide together snugly.
- Trim any excess yarn close to the knots for a neat finish.
To Begin, Create a Slip Knot
- Form a loop in your yarn, crossing the ends so the loop resembles a ribbon.
- Insert your index finger and thumb through the loop, reaching for the tail end of the yarn.
- Grasp the tail end and pull it through the loop to form a new loop.
- Tighten the knot by pulling the other end of the yarn, adjusting the size of the loop as needed.
Create a Chain
- To create your chain, reach through your slip knot with your index finger and thumb,
grasping the working end of your yarn. - Pull the working yarn through your loop, creating a second loop.
- Repeat this process to create each stitch in your chain, this will be the width of your blanket (approximately 22 stitches).

Let’s Knit
- Once you’ve completed your chain stitches, lay the chain on a flat surface (the table or floor work well), ensuring it is not twisted.
- Position your skein of yarn above the chain, with the working yarn extending back toward the slip knot.
- Reach through your last stitch (stitch #22) with your index finger and thumb.
- Grasp the working yarn and pull it through to create a loop.
- Repeat this process for each chain stitch, working down the entire length of the chain until all chain stitches have a loop.
- Reposition your skein of yarn to the other end of the chain, and continue creating loops through each stitch.
- Repeat this process to create additional rows of loops.
- Aim to keep your loops consistent in size—not too loose or too tight.
- Depending on your desired blanket length, you’ll create approximately 35 – 40 rows.
- Reserve about half of your last skein of yarn to finish off your blanket.
Finishing the Blanket
- On your final row, loop the first two stitches as usual. Take the first loop and pull the second loop through it.
- Loop the next stitch (stitch #3), then pull loop #3 through loop #2.
- Continue this pattern across the row, pulling each new loop through the previous one.
- When you reach the final stitch, create a loop through it. Pull the last loop (loop #22) through the second-to-last loop (loop #21).
- Pass the working end of your yarn through the last loop and tie a knot to secure it.
- Trim any excess yarn.