

By now, you’ve probably heard that plants can be good for your mental health — and the science backs it up. Studies show that even a short amount of time spent around greenery can reduce stress, lower anxiety and boost mood. In fact, a 2015 study published in The Journal of Physiological Anthropology found that interacting with indoor plants helped reduce physiological and psychological stress. Another study from the Journal of Environmental Psychology reported improved attention and well-being after participants spent time with nature — even simulated nature.
But what if you can’t keep a succulent alive to save your life? Don’t worry. You can still reap some of the same calming, creative benefits with a craft that’s inspired by nature, but requires zero watering.
Enter the beaded plant project. This DIY is equal parts fun and therapeutic. The repetitive motion of beading, the tactile experience of working with wire and color, and the freedom to create something entirely unique can offer a surprising amount of mental clarity — kind of like a meditative moment in your day. It’s a way to enjoy “plant parenting” without the pressure.
So whether you’re a proud plant parent or a repeat offender in the houseplant homicide department, this craft is for you. Keep reading for supplies, instructions and a few tips — and don’t forget to share your masterpiece with us!
Beaded Plant
Supply List
- Green beads (Lyndsay recommends two different sizes or shapes)
- 20 gauge wire
- Styrofoam ball (this should fit inside your terracotta pot)
- Terracotta pot
- Needle-nose pliers
- Wire cutters
- Hot glue gun
- Brown paint (if desired)
To start, cut your Styrofoam ball in half. Black Hills Family’s resident crafter, Lyndsay, recommends painting your Styrofoam ball brown so it looks like dirt. Once your paint is dry, apply hot glue to the outer rim of your Styrofoam ball and place inside your terracotta pot to hold it in place.
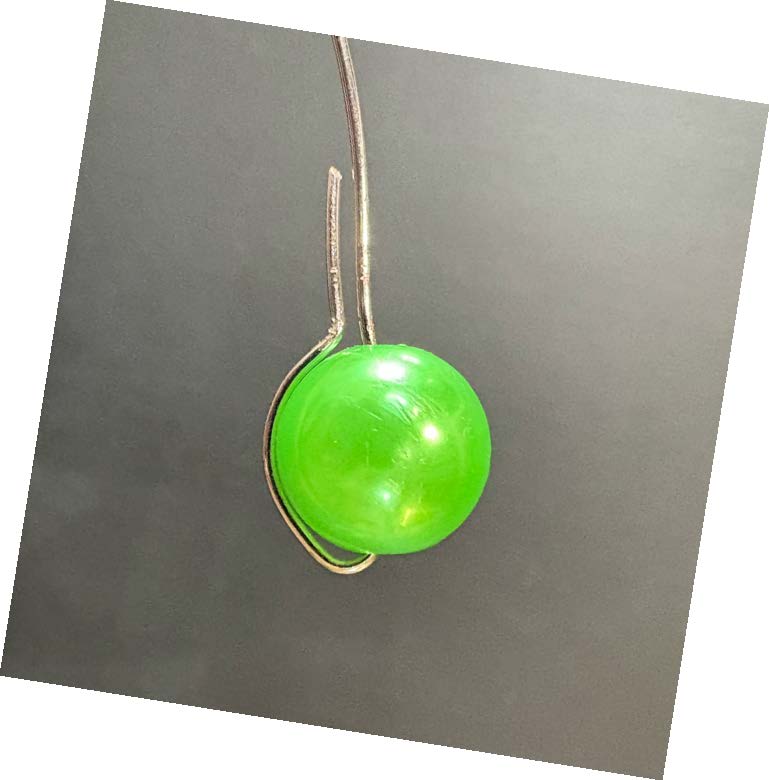
Using your handy-dandy wire cutters, cut your wire to your desired length. Add one bead — Lyndsay recommends using a larger bead to better keep the wire in place — to your wire length, leaving room to secure the bead at the end of your wire. To do this, use your needle-nose pliers to fold the end of the wire back toward the top of your wire. The wire should now be folded on top of your bead (see figure 1).
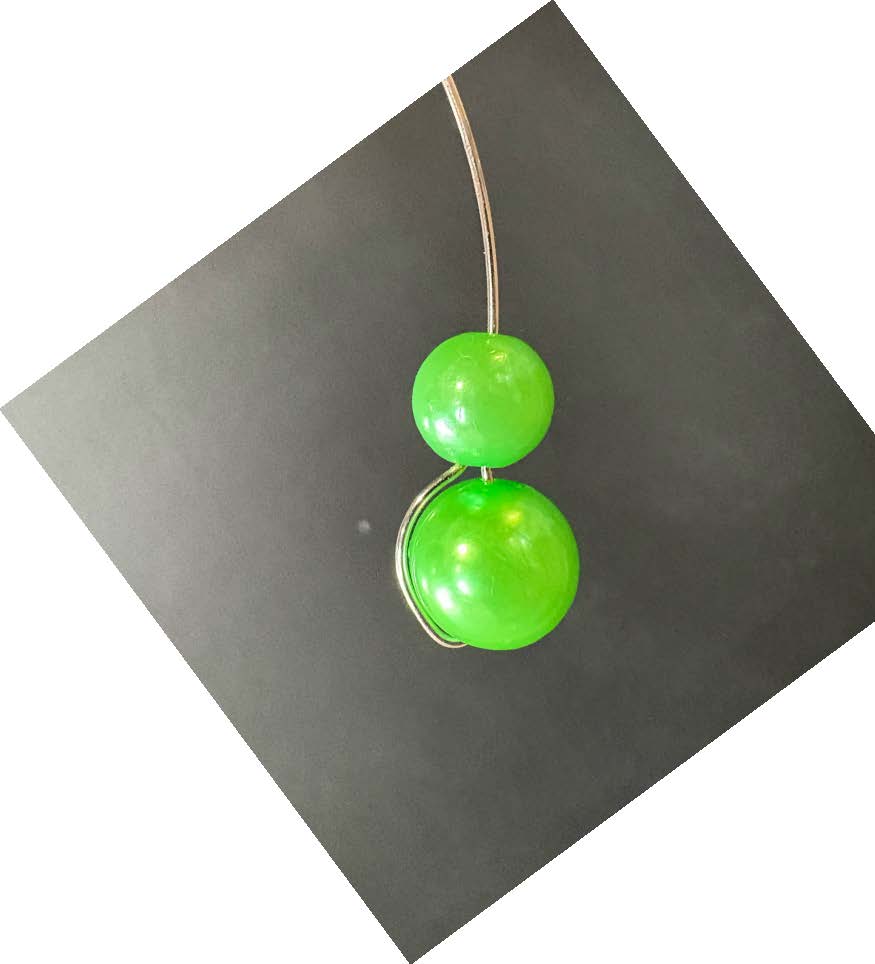
Next, add another larger bead on top of your wire. This bead should have both end of wire fed through it to hide the end and protect little hands from wire pokes (see figure 2). Then, add as many beads as you’d like, leaving about two inches of wire exposed.
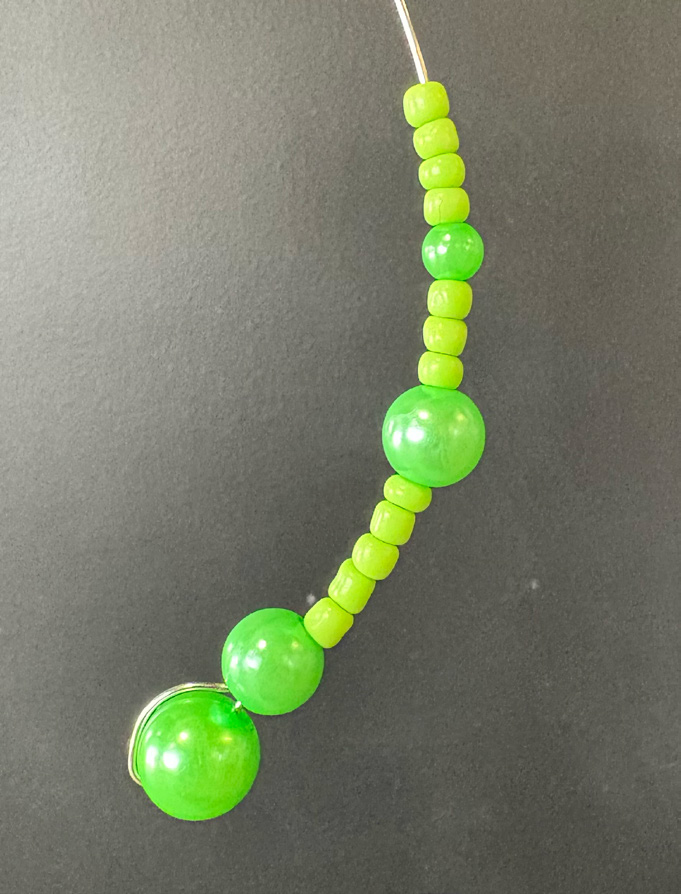
Lyndsay recommends adding a variety of beads — no pattern required (see figure 3).
Once your beads are in place, you’re ready to add your new leaf to your pot. There are multiple ways to do this, so feel free to choose whichever works best for you. One option is to add hot glue to the exposed end of your wire and insert it into the Styrofoam ball. Alternatively, you can insert the exposed wire into your Styrofoam and then apply hot glue to secure it in place. Expect a little trial and error here.
And then repeat this process until your plant is full of as many leaves as you’d like. Be creative! This plant is uniquely yours, and no two plants will look the same.