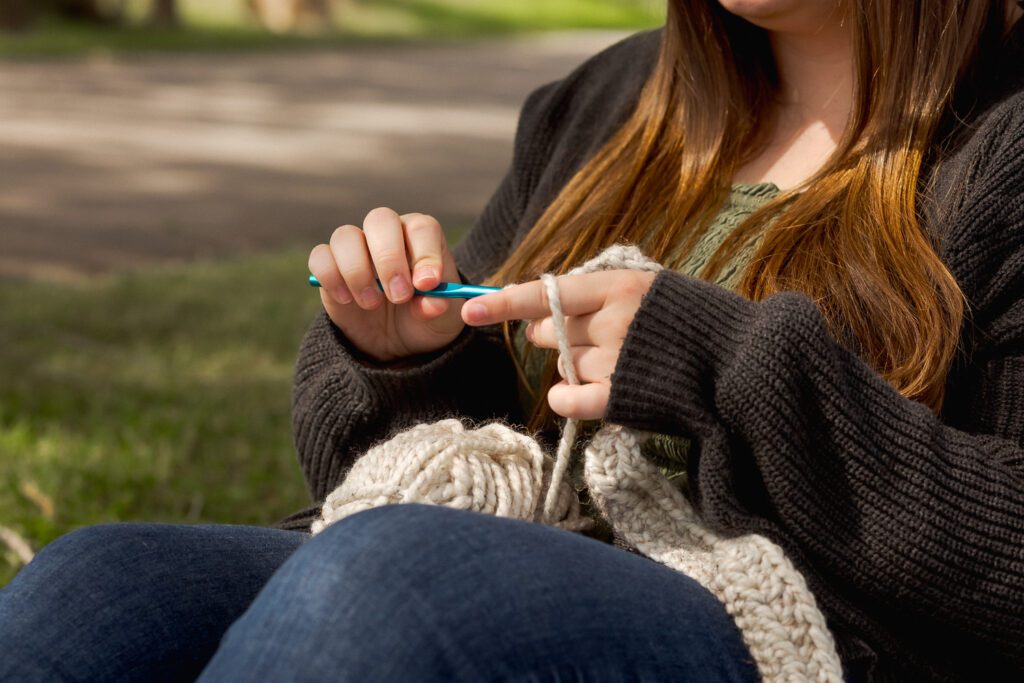
Black Hills State University student, BHF intern, and resident crochet queen, Lyndsay, has gathered some craftable gift ideas (of varying degrees of difficulty) for your consideration this holiday season.
Photographs by Annalina Scalise
Crafts by Lyndsay Hedman
Words by Dawn Kocina

Raise your hand if you have ever been personally victimized by crafting
While some of us feel a bit of stress over all things crafty, Lyndsay promises that there is a project for everyone — kids included. So, let’s see what we can make…
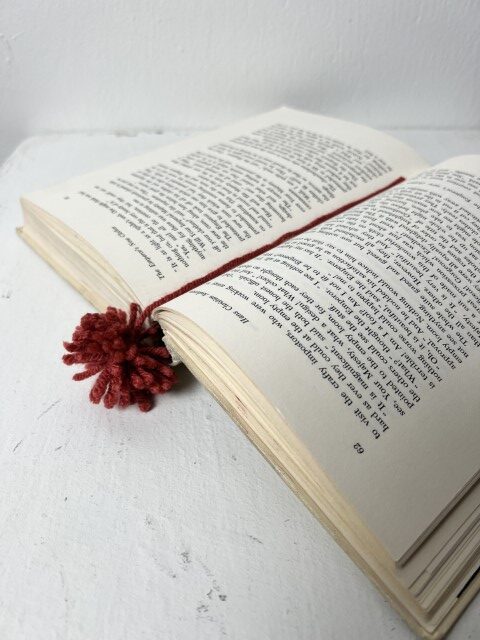
Yarn Ball Pom Pom Bookmark

Supply List:
• Yarn
• Sharp scissors
How to Make:
- Cut an 8-10 inch piece of yard and a 15 inch piece of yarn. Set aside for use in a later step.
- Hold the loose end of yarn from the skein with one hand.
- Behind wrapping the yarn around your fingers. You’ll want the yarn to be snug, but not too tight.
- The number of times you wrap the yarn around your fingers will determine how thick your pom pom is. For a thicker yarm, 45-50 times may be good. For a thinner yarn, aim for 90 times.
- Once you’ve completed wrapping, cut to separate from the skein.
- Carefully slide the yarn off your fingers.
- Lay the bundle on top of the 8-10 inch piece of yarn cut in Step 1.
- Tightly tie a knot around the middle of the loops.
- To add your bookmark “tail”, tie the 15 inch piece of yarn (from Step 1) to the piece of yarn used to tie your bundle.
- Holding the bundle on its side, slide your scissors through the yarn loops and cut. This will create the rough shape of your pom pom.
- Now you get to give your pom pom a haircut — snip off ends to create an even ball shape. Check from different angles to be sure you’re happy with the overall look. NOTE: hold your bookmark tail so as not to cut it while trimming.
- Repeat Steps 1-11 for each bookmark.
Lyndsay Says: “The more yarn you use, the thicker the pom pom will be.”
Idea and pattern found here https://designmom.com/
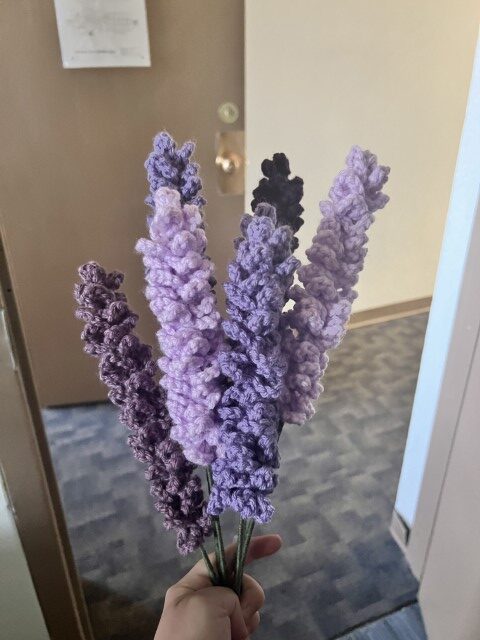
Crochet Lavender Bouquet

Supply List:
• Purple yarn (feel free to use more than one purple for each lavender sprig)
• Green or teal yarn
• Crochet hook (select size based on yarn you choose, but recommend using a 4.00 mm hook)
• Green bamboo stick for the stem
• Green floral tape
• Hot glue gun
• Sharp scissors
Abbreviations Used:
• Ch: Chain
• Sc: Single crochet
• Dc: Double crochet
• Hdc: Half double crochet
• Sl st: Slip stitch
Lavender Written Pattern:
- Ch 60.
- 5dc into the 4th ch from the hook.
- Ch 2, sl into the same ch.
- 1 sc into the next ch.
- Ch 6 and sl st to top of sc (v-shape)
- 1 sc into the next ch. Ch 6 and sl st to top of sc. Repeat until the end.
- Fasten off.
- Weave the ends.
Leaves Written Pattern:
- Ch 10.
- Sl st to the 2nd ch from the hook.
- 1 sc to the next 2 ch.
- 1 hdc to the next 3 ch.
- 1 sc to the next 2 ch.
- Sl st to the last ch.
- Repeat Steps 1-6 for each leaf.
- Fasten off.
- Weave the ends.
How to Assemble:
- Apply a bead of hot glue to one end of the bamboo stick.
- Place top (the 5dc section of lavender) onto the hot glue side of the bamboo stick.
- Apply hot glue on the next section of the bamboo stick and continue to wrap the crocheted lavender. Apply more hot glue as needed to adhere.
- Apply a bead of hot glue beneath the lavender, where you would like your first leaf to be placed.
- Attach the bottom of the first leaf in your chain to the hot glue.
- Apply hot glue on the next section of the bamboo stick and continue to wrap the crocheted leaves. Apply additional glue as needed to adhere, leaving the top portion of the leaves to stick out.
- If desired, wrap exposed bamboo stick with green floral tape to finish off.
- Repeat for each lavender sprig.
Lyndsay Says: “Create as many lavender sprigs as you wish to build a fun bouquet!”
Idea, pattern and video tutorial found here: https://handmadebyderya.org
Twist Headband
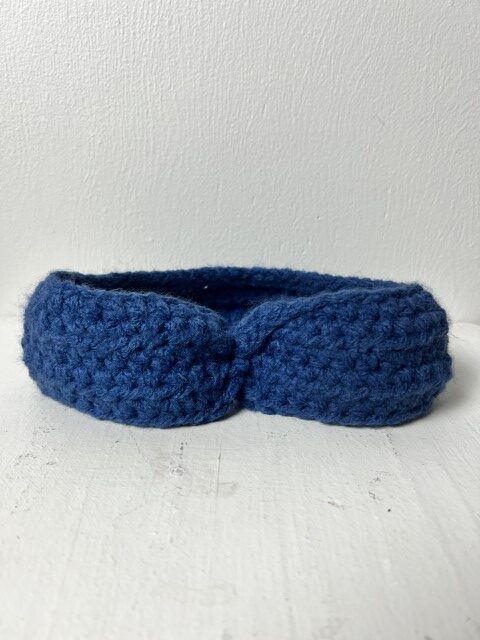

This project allows for a little more flexibility with style, stitch, and overall outcome. While that may seem a little overwhelming to start, it allows you to tailor the complexity of the project to your comfort and skill level.
Note: The instructions below are for a headband with a ribbed crochet pattern. You can use any pattern you prefer, crochet or knit; some options include alpine stitch, single crochet, and knit stockinette.
Supply List:
• Yarn of choice
• 4.5 mm hook
• Yarn needle
• Stitch marker
Abbreviations Used:
• St: Stitch.
• YO: Yarn over.
• Hdc: Half double crochet.
• HDC-SL-BLO: Half double crochet slip stitch black loops only. To complete a HDC-SL-BLO, YO (yarn over), insert hook into back loop of next stitch. YO, pull up a loop, pull same loop just created directly through remaining two loops.
Gauge: 17 sts and 16 rows = 4 inches in HDC-SL-BLO
Crochet Your Rectangle:
- Chain 81. Measure this chain to be 18-19 inches in length (add or remove stitches if necessary to reach desired length).
- Starting in 2nd st from hook, hdc across (80).
- Chain 1, turn.
- Starting in 2nd st from hook, HDC-SL-BLO across (80).
- Repeat Steps 3-4 until desired height is achieved. (Approx. 18 rows).
- Fasten off, leaving a long end for sewing.
Seam Your Twist Headband:
- Use a stitch marker to mark the halfway point of the short side of your rectangle.
- Fold the rectangle in half lengthwise. The side facing out will be the inside of your headband.
- Line up the edge of one side to the stitch marker on the other side.
- Fold the left side downwards, forming a “C” with the stitch marker on the left side.
- Fold the right side upwards toward the stitch marker, forming a reverse “C”.
- Using the long talk and a yarn needle, seam these layers together. Ensure that you are going through all four layers with each stitch in a back and forth motion.
- Once you have reached the end, you can whip stitch back for extra security, if desired.
- Weave in ends.
- Flip the headband inside out.
Lyndsay Says: “The original pattern suggests a 22-inch headband for an adult. In my experience, this is way too big. I went with an 18-inch headband and it was the perfect fit.”
Idea, pattern, and video tutorials found here: https://www.allaboutami.com/
Do you have a craft you love to make and give? Share it with us at editorial@blackhillsfamily.com or on social media.

